
Calibrating your device is an important step towards more accurate measurements. While our boards already had this functionality in the oscilloscope and signal generator application, we are excited to let you know that we listened to your feedback, and with the release of the Red Pitaya Beta OS v1.04-7 we have added a separate calibration application which will apply the calibration parameters across all applications.
How does the calibration app work?
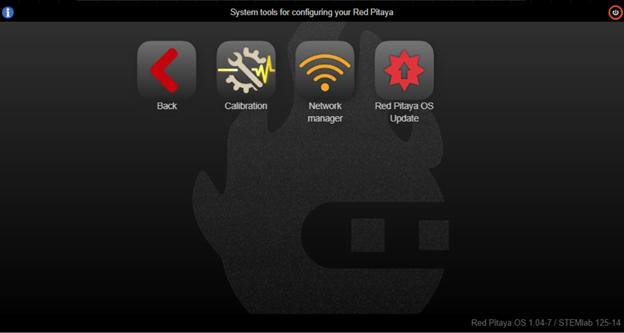
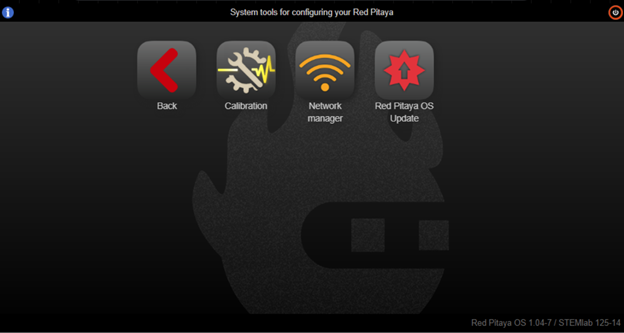
- To get to the calibration application, click on ‘System Tools’ and then select Calibration.
- You will be greeted by the options you can see in the screenshot below:
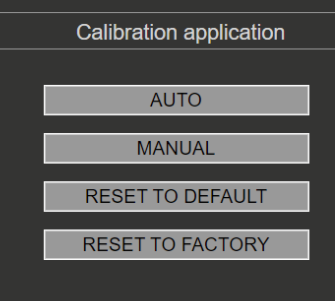
a. ‘AUTO’ will guide you step-by-step through the calibration process and is the option we recommend for beginners.
b. ‘MANUAL’ will let you do the calibration manually and fine-tune all the variables.
i. Apart from calibration, this option will also allow you to identify any parasitics on your measurement lines.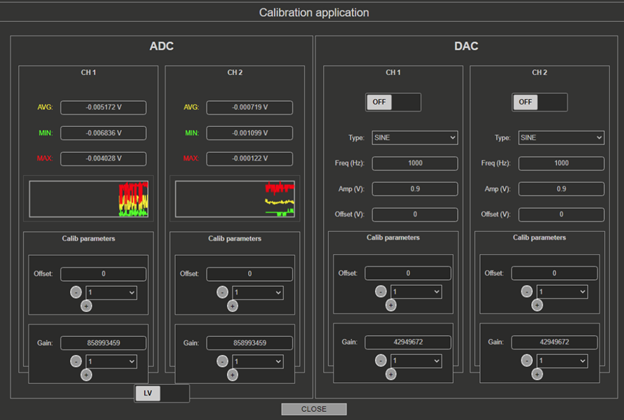
c. ‘RESET TO DEFAULT’ will remove the calibration parameter
d. ‘RESET TO FACTORY’ will reset the board to the factory calibration parameters - Apply the calibration, which will save the DC offset in the system settings.
- Bask in the accuracy of your measurements :D
For those who were already using the calibration in the oscilloscope and signal generator application
- Calibration in the system tools will override the calibration done in the oscilloscope app
- Arbitrary reference voltages can be used in the new calibration app
- While the previous calibration only covered ADC, the new app also covers DAC
We are also still improving the calibration options, so stay tuned for some big announcements coming down the pipeline!


