
Instead of writing the whole SD card image, it is possible to upgrade only the ecosystem.
Web interface upgrade
At boot Red Pitaya checks for software updates, and alerts the user if a new release is available. Users can also check for updates manually.
-
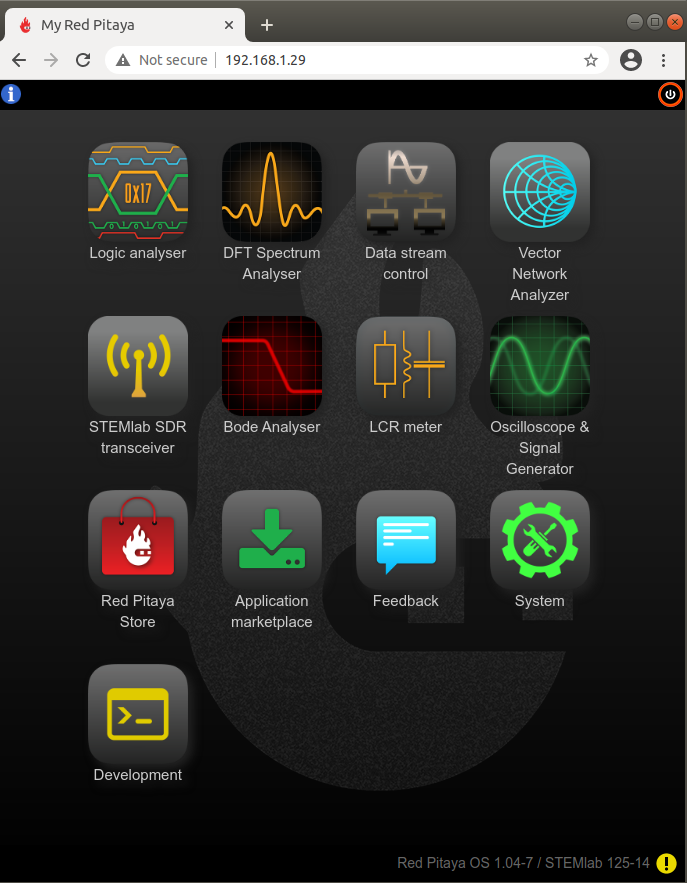
Open Red Pitaya desktop using your WEB browser.
-
Click on the upgrade alert or on the ecosystem version label in bottom right corner.
-
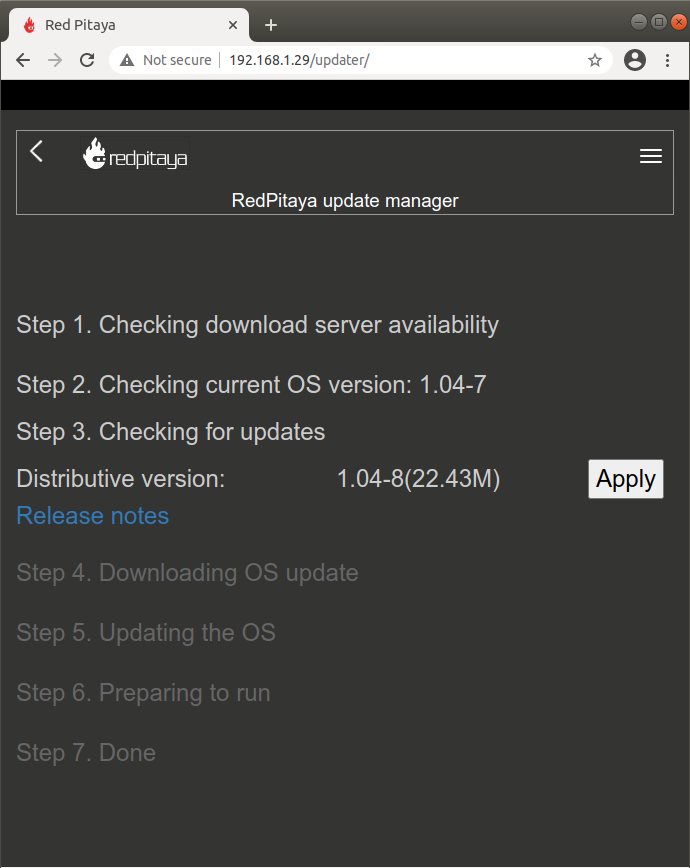
Select ecosystem version and start OS updater
-
Follow the steps in the OS updater app in order to install new OS.
OS upgrade might cause your Red Pitaya desktop to freeze for a few minutes.
Manual upgrade
A manual upgrade allows you to fix a corrupted SD card image (if only the FAT partition is corrupted) or to install older, newer or custom ecosystem zip files.
- Download a zip file from our download server.
- Insert SD card into card reader.
- Delete all files from the FAT partition. Use
Shift + Deleteto avoid placing files into a trash bin on the same partition. - Extract the ecosystem zip file contents onto the now empty partition.
If you wish to keep wireless settings skip deleting the next files:
wpa_supplicant.confhostapd.conf
Resize file system
When recording an image to a flash card of any size, we get sections of the file system 4 GB in size. In order to increase the available free space you need to execute the script:
root@rp-f03dee:~# /opt/redpitaya/sbin/resize.sh
After the script is completed, the system will ask you to restart Red Pitaya. If everything is done correctly, start the system with an increased size of space. This can be checked with the command:
root@rp-f03dee:~# df -h
If the file system size has not changed, you can try to manually run the command:
root@rp-f03dee:~# sudo resize2fs /dev/mmcblk0p2


